Showing posts with label upcycle. Show all posts

Wednesday, December 4, 2013

WIPWednesday: Christmas + Books

Between Thanksgiving, my birthday on the 2nd, and a crazy busy week at work I haven't had much time for crafting, but I made time yesterday. I found some reindeer at the local craft store for fifty-nine cents a pop. So of course I grabbed a bunch.


I didn't finish this guy because I had to clean up and get ready for work- boo. So far so good though, yeah? I used pages from Charles Dickens' Christmas Carol. I also plan on some sheet music reindeer, too. I should have a whole mess of these little guys soon!


Saturday, November 23, 2013

Finally finished: Friends bookshelf project!

I actually finished this a while ago... and never got around to blogging it. Go figure.


I'm really quite pleased with how it came out!


It feels so nice to have it done.

Have a great weekend!

Friday, March 15, 2013

Quick & easy craft: Bottle cap magnets!

The other day I felt the need to finish something. I have so many interrupted projects and my stash of stuff is getting out of control. Who am kidding? It's been out of control for a while now.

I had saved several colorful bottle caps from beer and soda bottles with the idea of making magnets. I don't know why I didn't do this ages ago... it was so easy, and the accomplishment of actually finishing a project (albeit a small one) was really rewarding.


Nice and colorful! They look great on the fridge. The magnets I had on hand weren't quite thick enough to overcome the depth of the bottle caps, so I glued a couple layers of felt in under each magnet. You can see this best below with the red felt on the right. 


A hot glue gun would probably work but I don't have one (le gasp! a crafter without a glue gun?!). E-6000 did the trick! If you decide to make some and you're using a glue that requires a little time to set, like I did, MAKE SURE you don't put your bottlecaps too close together because the magnets will attract, as magnets do, and this can screw up your glue job if it's still wet.

Linking up again with Happy Kid's Inc's Bloglovin' Blog Hop again! Meg's blog hop has really grown- last week she broke fifty link-ups and this week it looks like she'll break a hundred!

Happy Kids, Inc

You can follow me on Bloglovin' here.

Have a great weekend, everyone! Tonight is my Sunday night- I had a rare two days off in a row, but I have to go in extra early to run a birthday rental tomorrow. What fun. Maybe I'll splurge on some Starbucks... :)

Tuesday, September 18, 2012

Tutorial: Record cover postcards

This is one of my favorite paper upcycling projects: making postcards out of old vinyl record covers. Easy, useful and super cool- not to mention cheap! I've found records as low as a quarter a pop, but I'd say they average a dollar at most thrift stores. I might shell out two or three for a really cool cover.


 PLEASE PLEASE PLEASE make sure you're not cutting up something really rare or valuable! A quick ebay search will save you from kicking yourself later. If you pick your records up at a thrift store or a music store's dollar bin, you're probably just fine, but better safe than sorry.

Pretty colors!!

Once you've got your covers, it's time to cut! If your album has a thin paper slip cover, set that aside for now.


My little brother got to this one before I did, and cut out the robot on the front. But that's ok, because the back is covered in SPACE!

Figure out which rectangle-shaped (or square, let's not be picky) areas on your cover will look best. Grab your cutting tools of choice and have at it!


Ta-da!! How awesome is this? Now I can send someone a little piece of the universe. I was able to get four postcards from the back cover. This is unusual for the back side- usually it's covered in words.


Most record covers, especially the older ones, are made of paperboard. This means the back side will be brown. Which is fine, if that's what you want, but it's easier to write and read on a white background, yes?

I glued my post cards to the "wrong" side of a slip cover, the thin paper jacket many records have. It's not the end of the world if you have to use something else; I like the ecofriendliness of using the slip cover, though. Sometimes you can even find big bunches of old slip covers and other inserts from old albums that were orphaned, grouped together, and sold cheaply. 


But wait! The back will be blank. wouldn't it be nice to have some guidelines for a stamp and address, to make it look like a real postcard? I think so.


There's more than one way to achieve this. You could free hand it, use a ruler, make a stamp, or make a stencil like I did.

Grab old postcard. Or two or three, if you think you'll screw up like I did the on the first try. I used a craft knife and ruler to carefully cut along the guidelines and where the stamp box was. Then I used a small pair of scissors to widen the cuts so I could get a pen tip in there.


This was not my first try. As you might guess, the lines I get from this stencil are not perfectly straight and even all the way across. And I like them that way. The possibilities with this project are endless! That's what I love about upcycling.

I'm going to put myself out there and say this is the first craft tutorial I've ever written, so if anything is unclear please please please let me know! I would be ever so thankful.


Sunday, September 9, 2012

Paperback correspondence

I started making cards- Christmas cards, specifically- to create something new out of something old. I use as much recycled material in my greeting cards as possible. Closer to Christmas I'll share that story.

This is what I'm working on right now.


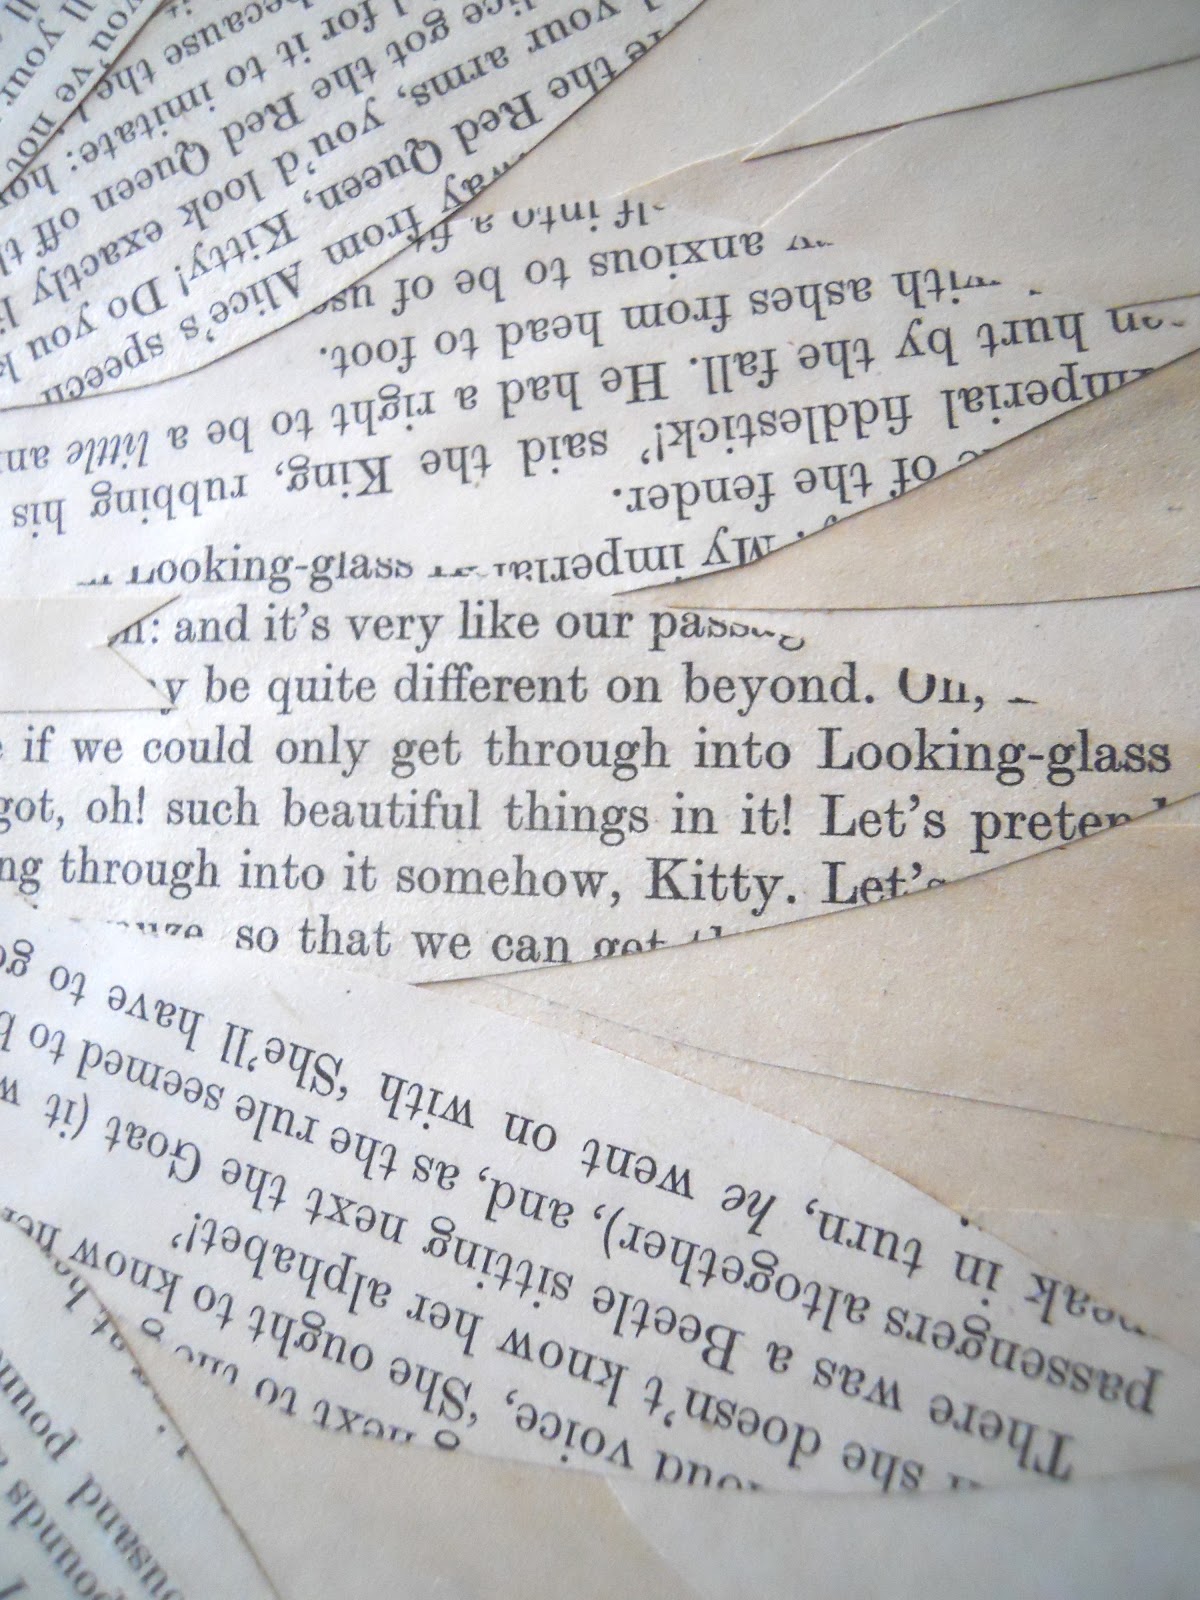
A while ago I happened upon a very worn paperback copy of Lewis Carroll's Through the Looking-Glass. I finally made use of it, and I'm quite pleased with the results. 

It had the illustrations and lovely, yellowed, easy-to-tear pages. I just needed a little time for the ideas to sit on my back burner before I could really get them out.


I wish you could touch them- the feel of layers and torn paper edges is lovely.

This next one is my absolute favorite. It's from the chapter where Alice finds the garden of live flowers, and it's one of my favorite illustrations from the book.


I do have a confession to make: I had not read Through the Looking-Glass when I bought this book, and I did not read it before I tore it to pieces. After making two or three cards, the idea occurred to me that maybe I should read it, especially if I plan on sending or selling these cards!

I'm nearly done reading, and it's a fantastic book. I wish I had read it as a child. There's a lot of children's fantasy I didn't read until I was an adult; The Hobbit and The Chronicles of Narnia are also on that list. My reading habits when I was a kid were primarily influenced by my mother, who much preferred mysteries and historical fiction, so Nancy Drew, Betsy-Tacy, and Laura Wilder books filled my shelves.

For anyone interested in reading Through the Looking-Glass this instant, you can find the original text with scans of the illustrations on the University of Virginia website here.